Given my earlier conclusions regarding spray drying, I decided to further investigate this technique. I could continue to use a commercially prepared spray dried product, but where's the fun in that? Moreover, I want to have complete say over what the material I am using is made of. That is, after all, why I'm doing this.
I figured spray drying would be a fairly easy, straightforward process. Like many other things, the devil is in the details!
In researching more about this technique, I was surprised to learn of how many different industries use this process. Spray drying is used for everything from preparing dry food products like condensed milk, to pharmaceuticals and other chemical products. In ceramics, it is used to prepare material for dry pressing, as spray dried powders flow very nicely. This is crucial for consistent filling of dry pressing equipment. This ability to flow is also the reason why I think it makes sense for 3D printing.
The process is simple in theory. You pump a slurry (a material in suspension) through an atomizer (essentially a spray gun nozzle). The atomizer is aimed inside a sealed, heated chamber. As the slurry is sprayed into the warm environment, it forms little droplets. Thanks to surface tension, these airborne droplets take the shape of almost perfect spherical granules as they dry. As these granules fall, they are consolidated by the funnel-shaped bottom of the chamber into a jar below.
I met with Hiojin to devise a testing strategy. Much of his work deals with non-clay systems (i.e. alumina or other materials). As each recipe produces different results when spray dried, my first trial was simply a shot in the dark. There were a few things I gathered from our first meeting:
- Spray drying is not a very efficient technique. I should expect to loose about half of the material I start with, so for whatever amount of powder I expect to yield, I should double what I start off with.
- Dispersant: I will add a dispersant (in this case, Darvan 811) to help mix the suspension more thoroughly
- Binder: This is required to give the granules strength after drying. I this case, I will use Polyethylene glycol (PEG). PEG comes in different molecular weights, with higher numbers resulting in longer chains. I'll use a medium weight (PEG 600) to start with
If granules are too large... add water.
If granules are too small... add PEG
I started with a 30% volume suspension. This means 30 cc of ceramics for 70 cc of water.
To convert from volume to density for the ceramic materials… 30 cc * 2.6 g/cc (average density of powders) = 78 grams of ceramic powder needed.
So 78 grams of ceramic powder + 70 cc water = 30% volume suspension.
As for the amount of Darvan, I need to use about 0.2 mg/m2. In other words, I need 0.2 mg of Darvan to coat each square meter of material. I'll spare both you and I the calculations on this... needless to say, it is specific to the ceramic materials being used, as each material in the recipe has its own specific surface area.
Enough MATH! The final recipe looked like this:

The above amount filled a 5 gallon bucket when all the water was added.
The spray drier has two collection jars. The main jar collects the "usable" material. A secondary jar collects material which is super fine. I was hoping that this finer material might be usable. Even though it is theoretically granular, it is so fine that it no longer flows well. As is, it is unusable.
I screened the material from the main jar. After passing through a 200 mesh screen, the result was a super-compact, fine powder that doesn't clump.
Below are a few images I took of the process. Also, I just put up a short video here...

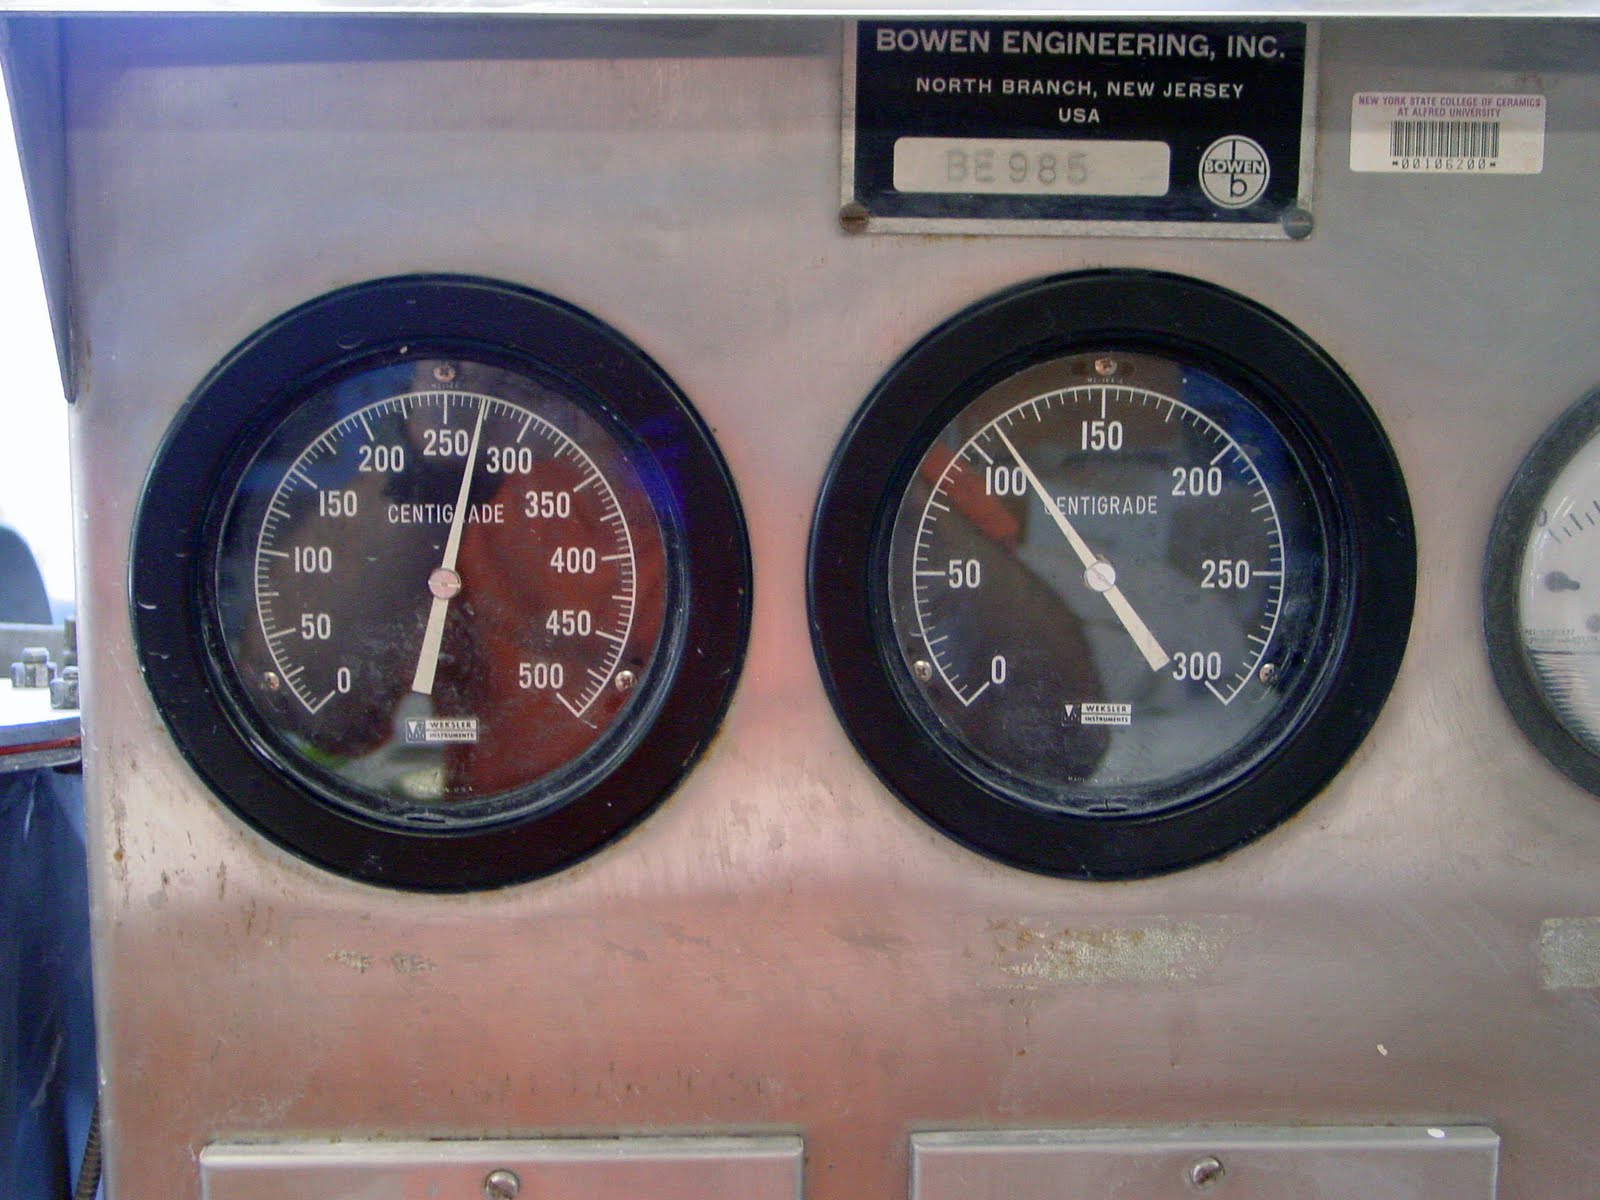
On the left, Matt and Sanjae preparing the spray drying equipment for a run. Watching them work together was a real treat: each seemed to know what the other was doing, almost telepathically. These guys are like the mercenaries of the spray drying world! On the right, the rightmost gauge indicates the temperature of the internal chamber. 115 C... ideal for our needs.


On the left, the ceramic slurry is constantly stirred during spray drying to avoid settling. Also visible is a peristaltic pump used to pump the slurry to the atomizer. On the right, the line from the pump feeds to the atomizer close to the bottom of the funnel. The atomizer inside the chamber actually points upwards, giving the slurry plenty of room to dry before falling back down. The yellow air-line supplies air to the atomizer (much like you would see in a regular spray gun for ceramic applications).


On the left, the main jar as it fills. On the right, the secondary jar collects the really fine material.


As might be expected, some of the atomized droplets land on the sides of the chamber before they have a chance to fully dry and drop. On the left, before and after images of the chamber, showing this accumulation of material over time. On the right, the access door to the chamber, and a closeup of the material buildup. This is remarkably similar to what one encounters as "overspray" when spraying ceramic glaze in a spray booth. Naturally as this texture builds up, it increases the surface area of the chamber walls, attracting more and more material and essentially diminishing the yield in the main collection jar. For this reason, the chamber needs to be cleaned periodically, even when running the same batch of material.

The fruit of all that labour: a very nice spreading, custom made powder.
After screening the results, here is what I have:

A yield of 22.3% is not that great. Oh well, at least there's room for improvement!
Overall, this has been a very rewarding experience for me. I have a much better understanding of what's involved in spray drying. The overall run took about 3 hours. Quite a bit of time and energy for such a small yield. On the other hand, this is the only way I can think of to make a free-flowing ceramic powder. And of course, if this works, there are always economies of scale.
I leave you with a few images of a large spray drier I visited at a clay production facility in Germany a few years back. It was too large too capture in one image. Needless to say, this would speed up my process just a bit :-)
I leave you with a few images of a large spray drier I visited at a clay production facility in Germany a few years back. It was too large too capture in one image. Needless to say, this would speed up my process just a bit :-)
